Le potager

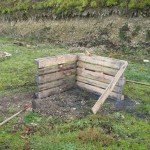
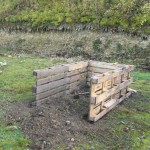
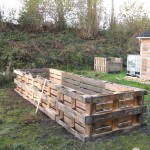
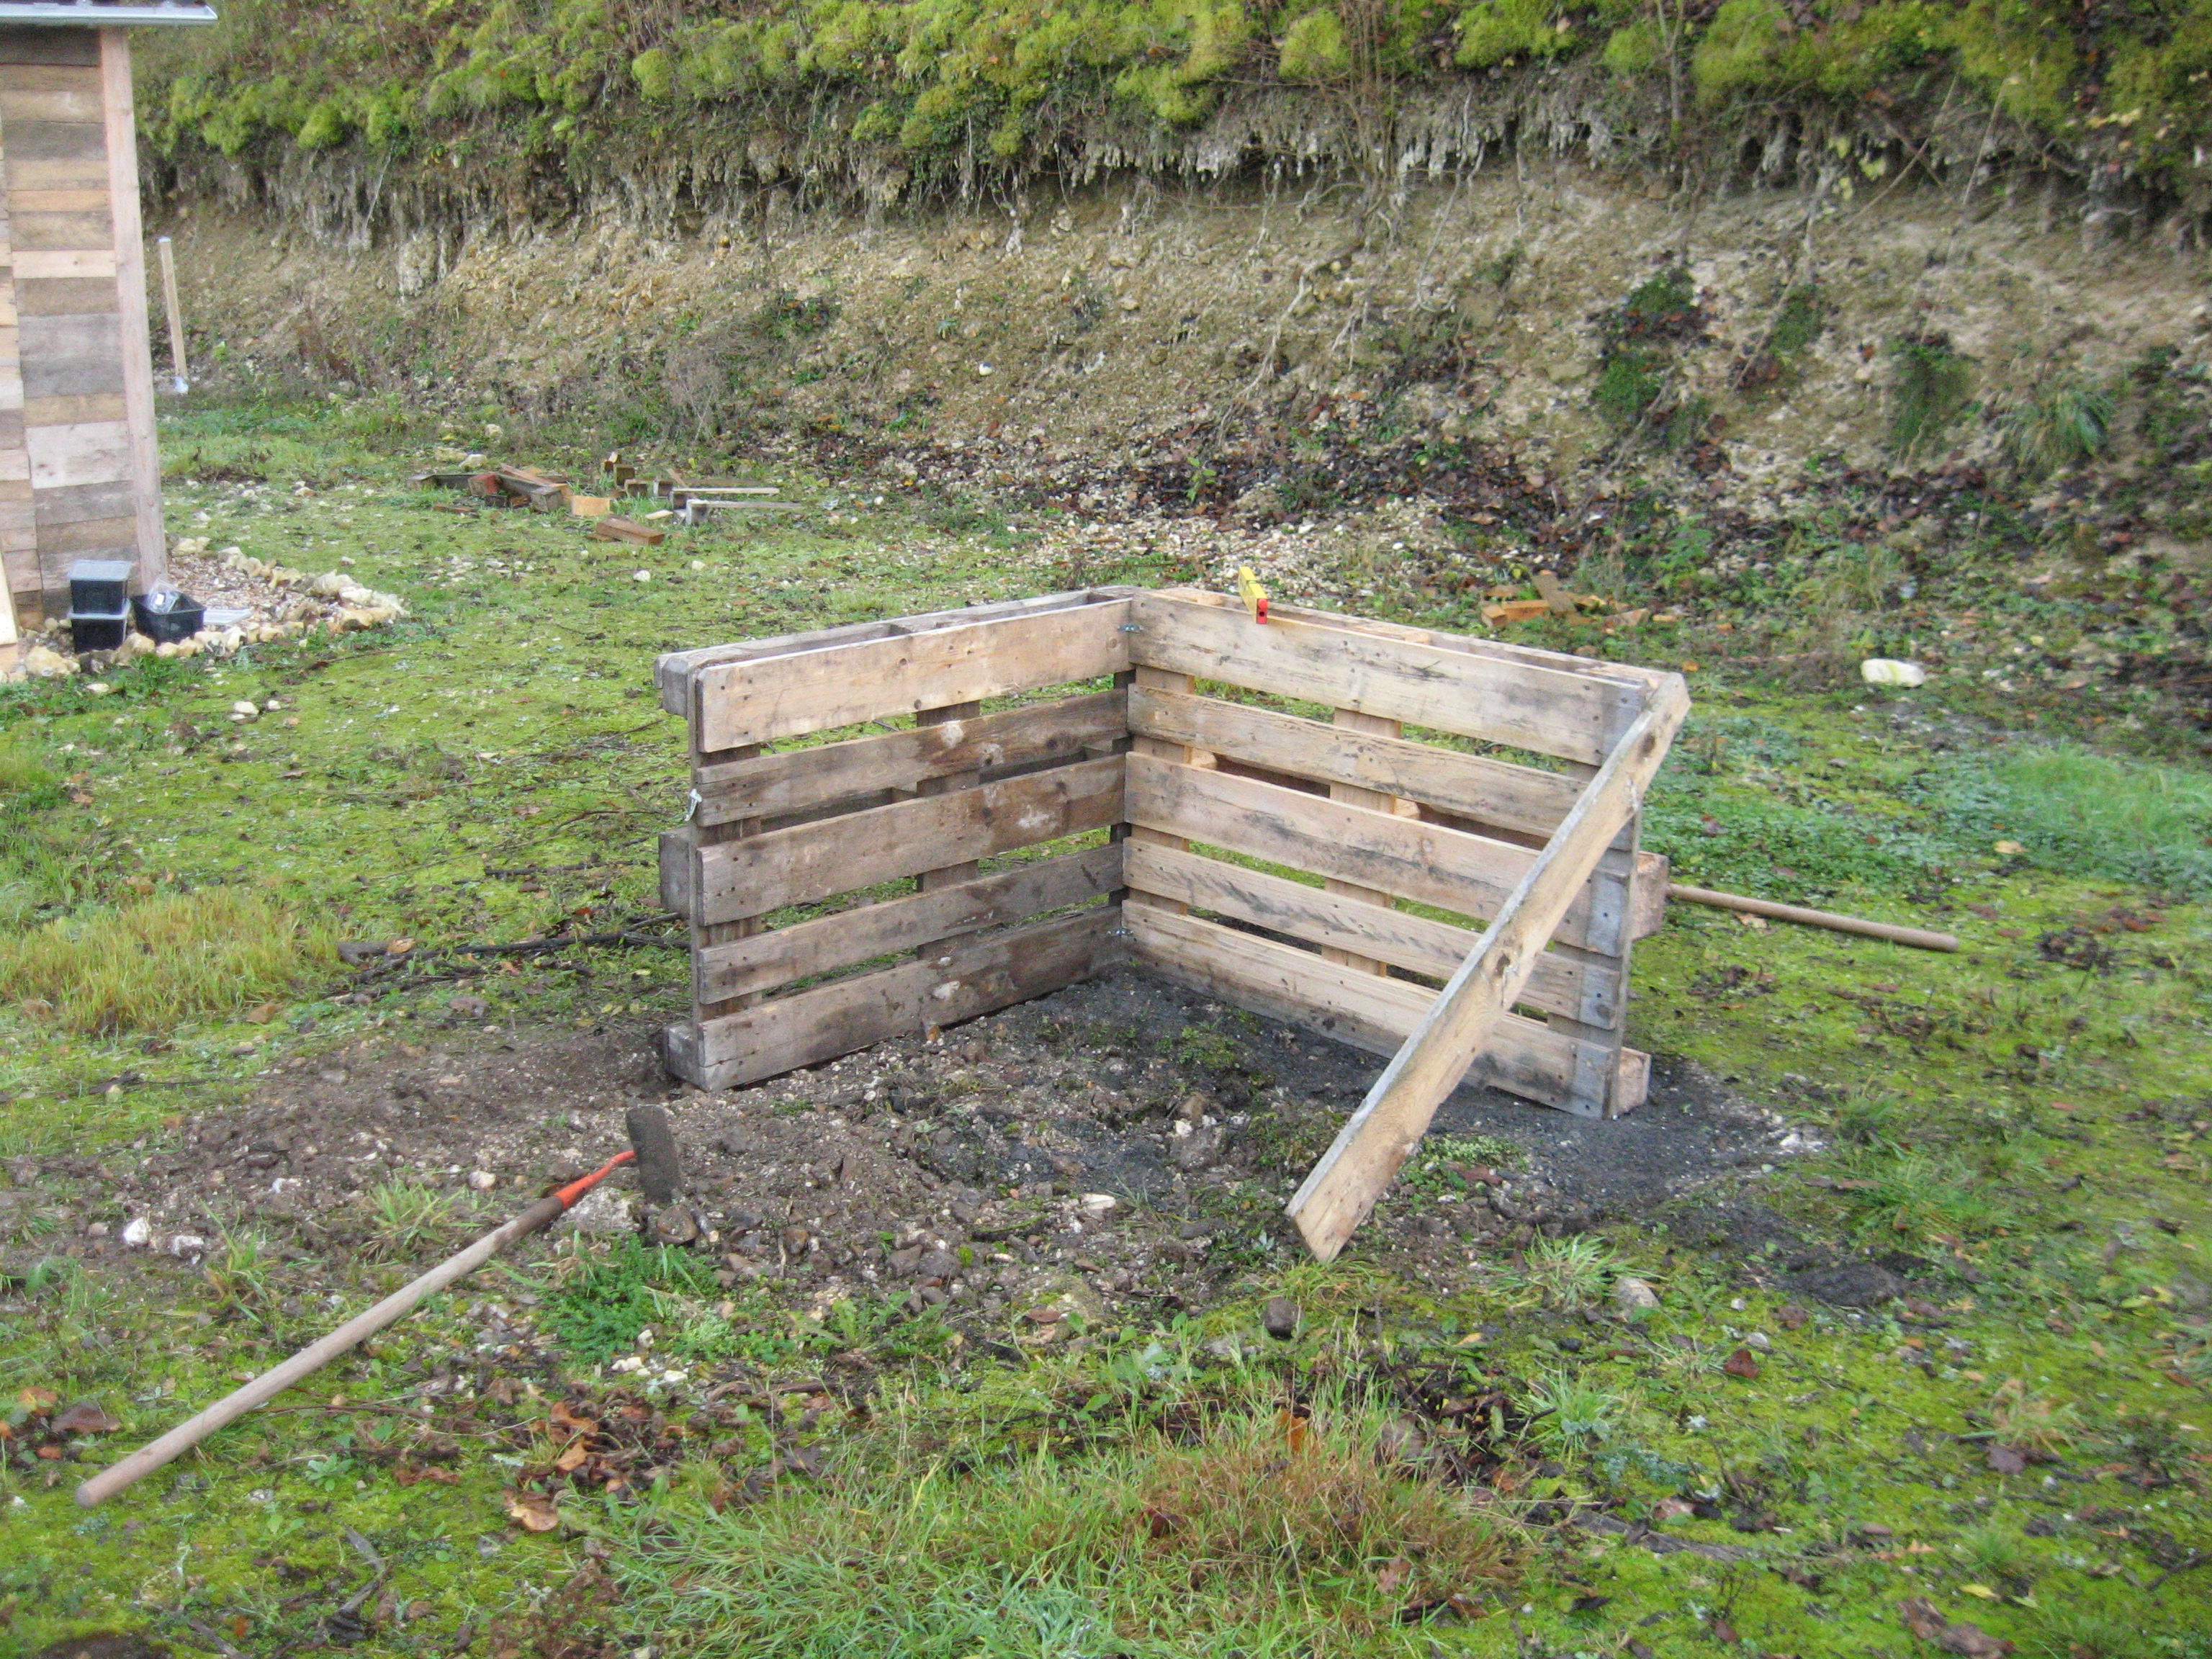
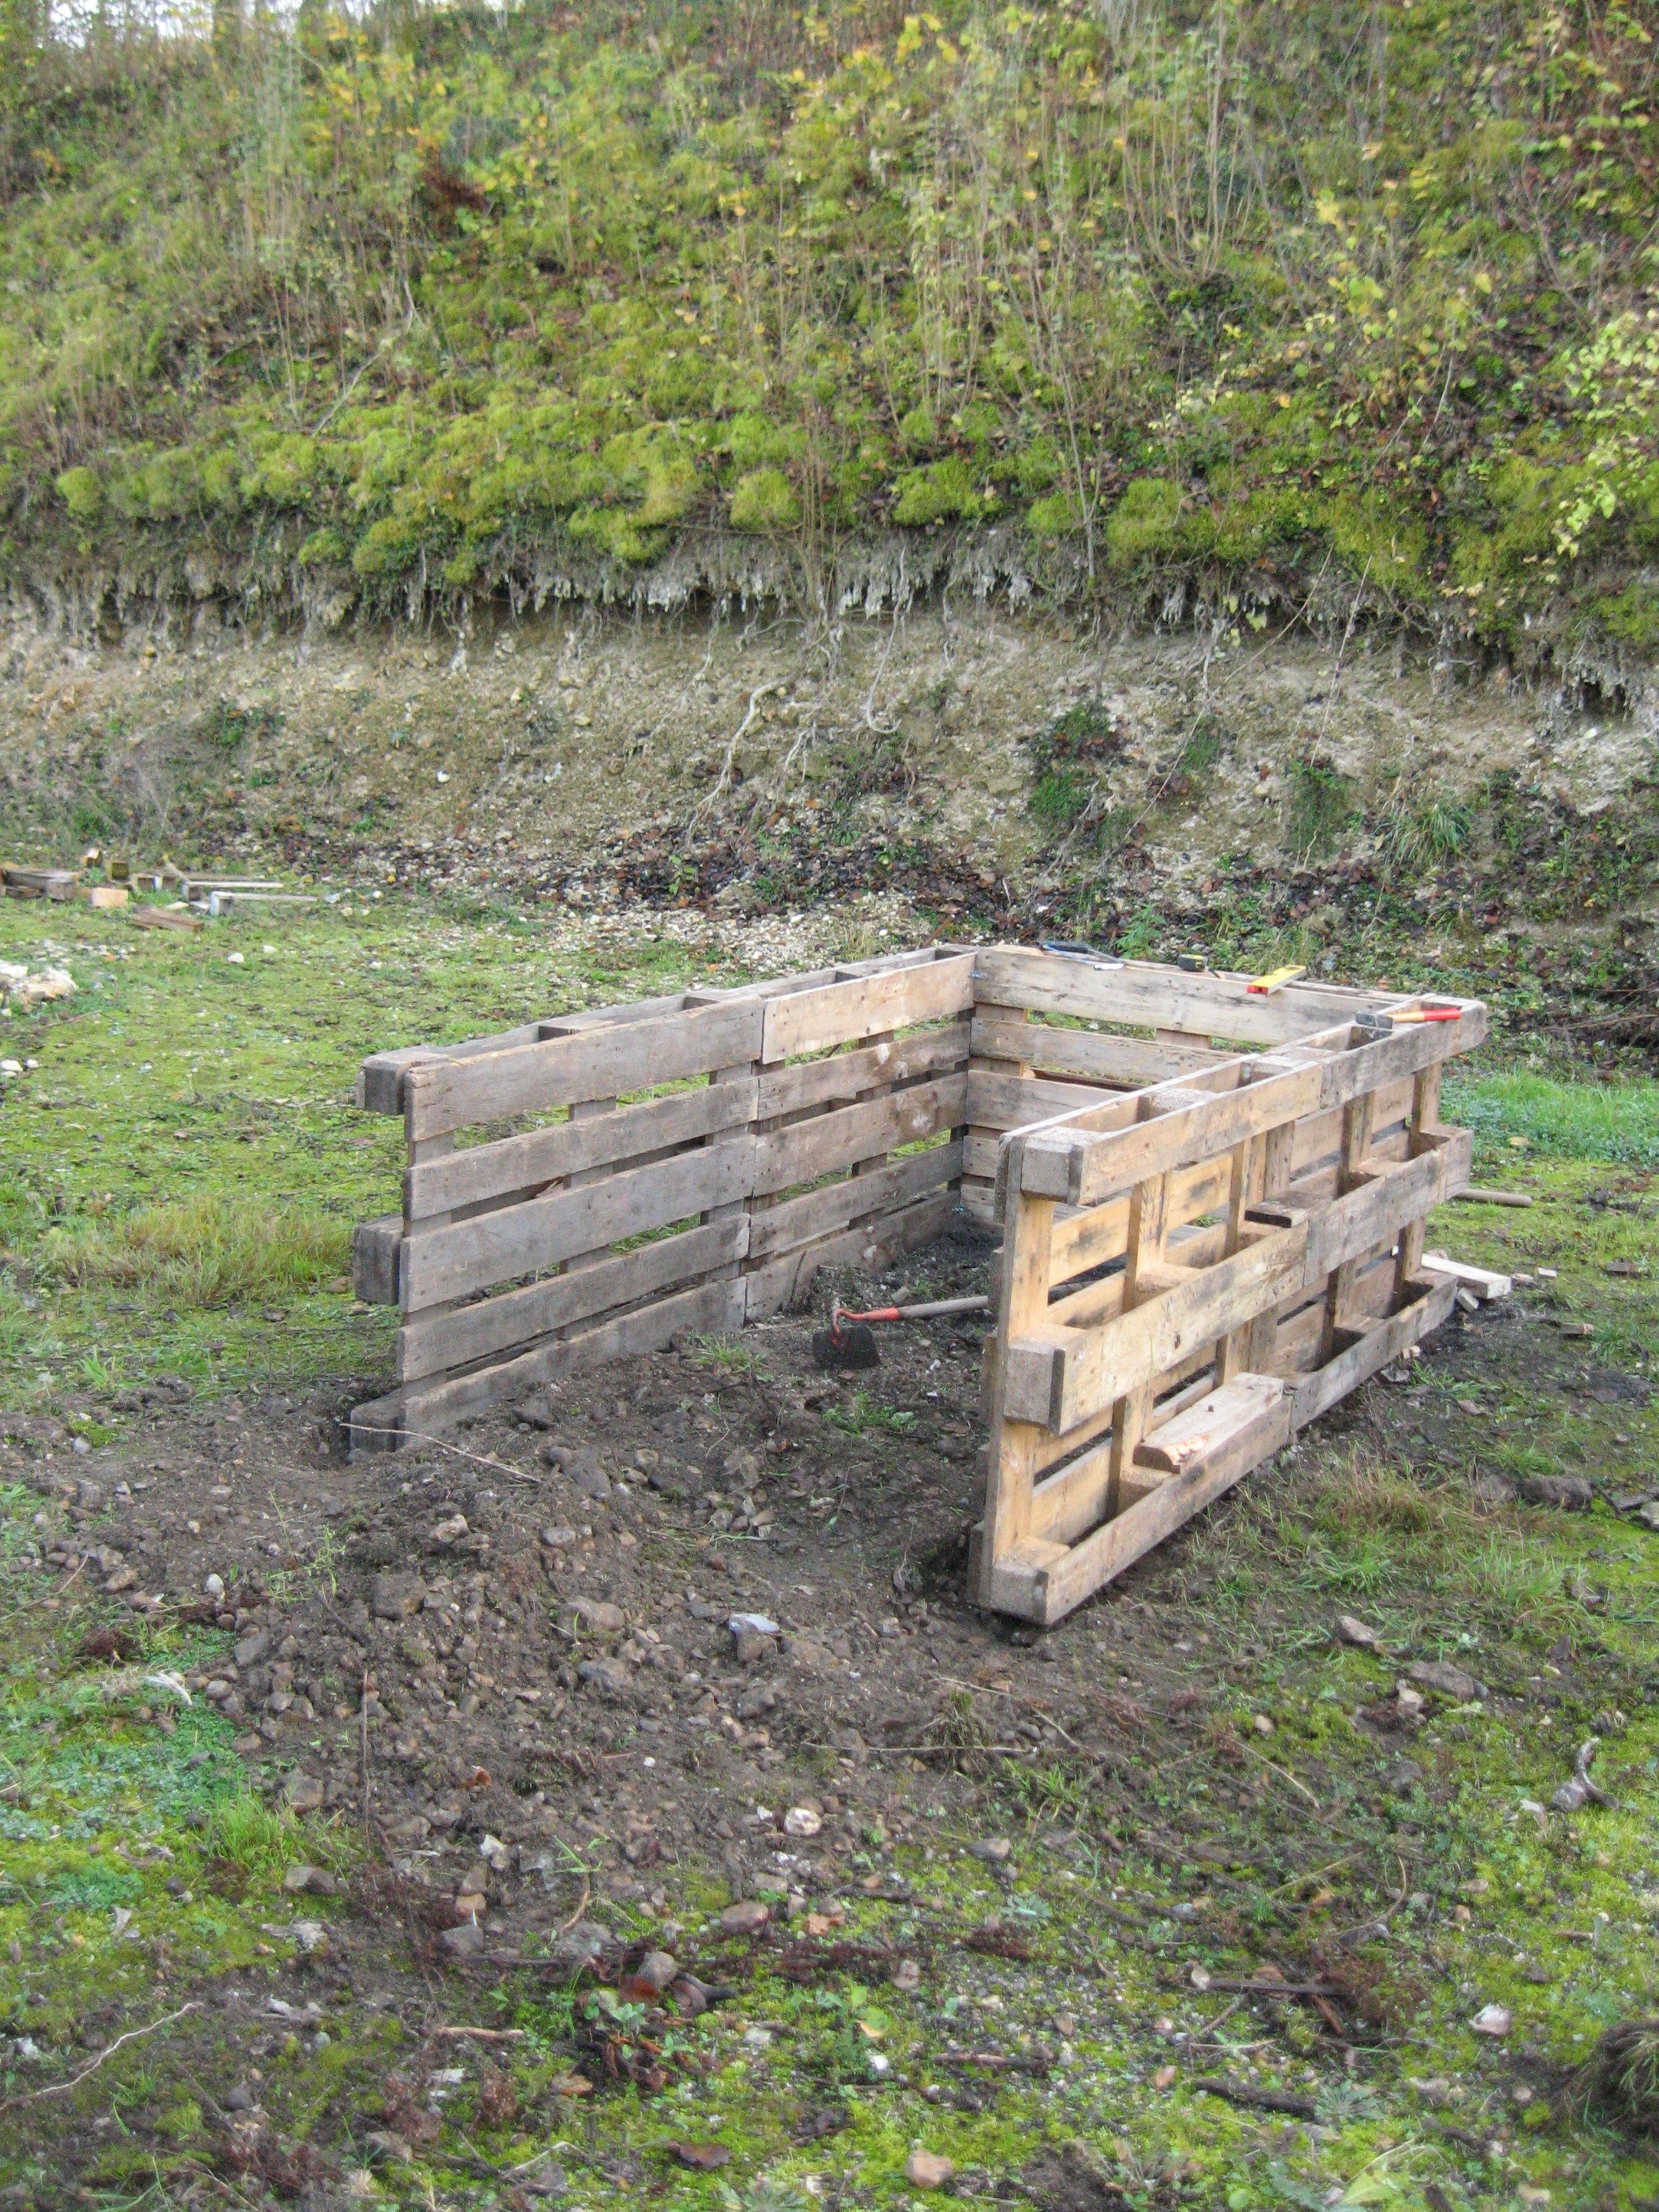
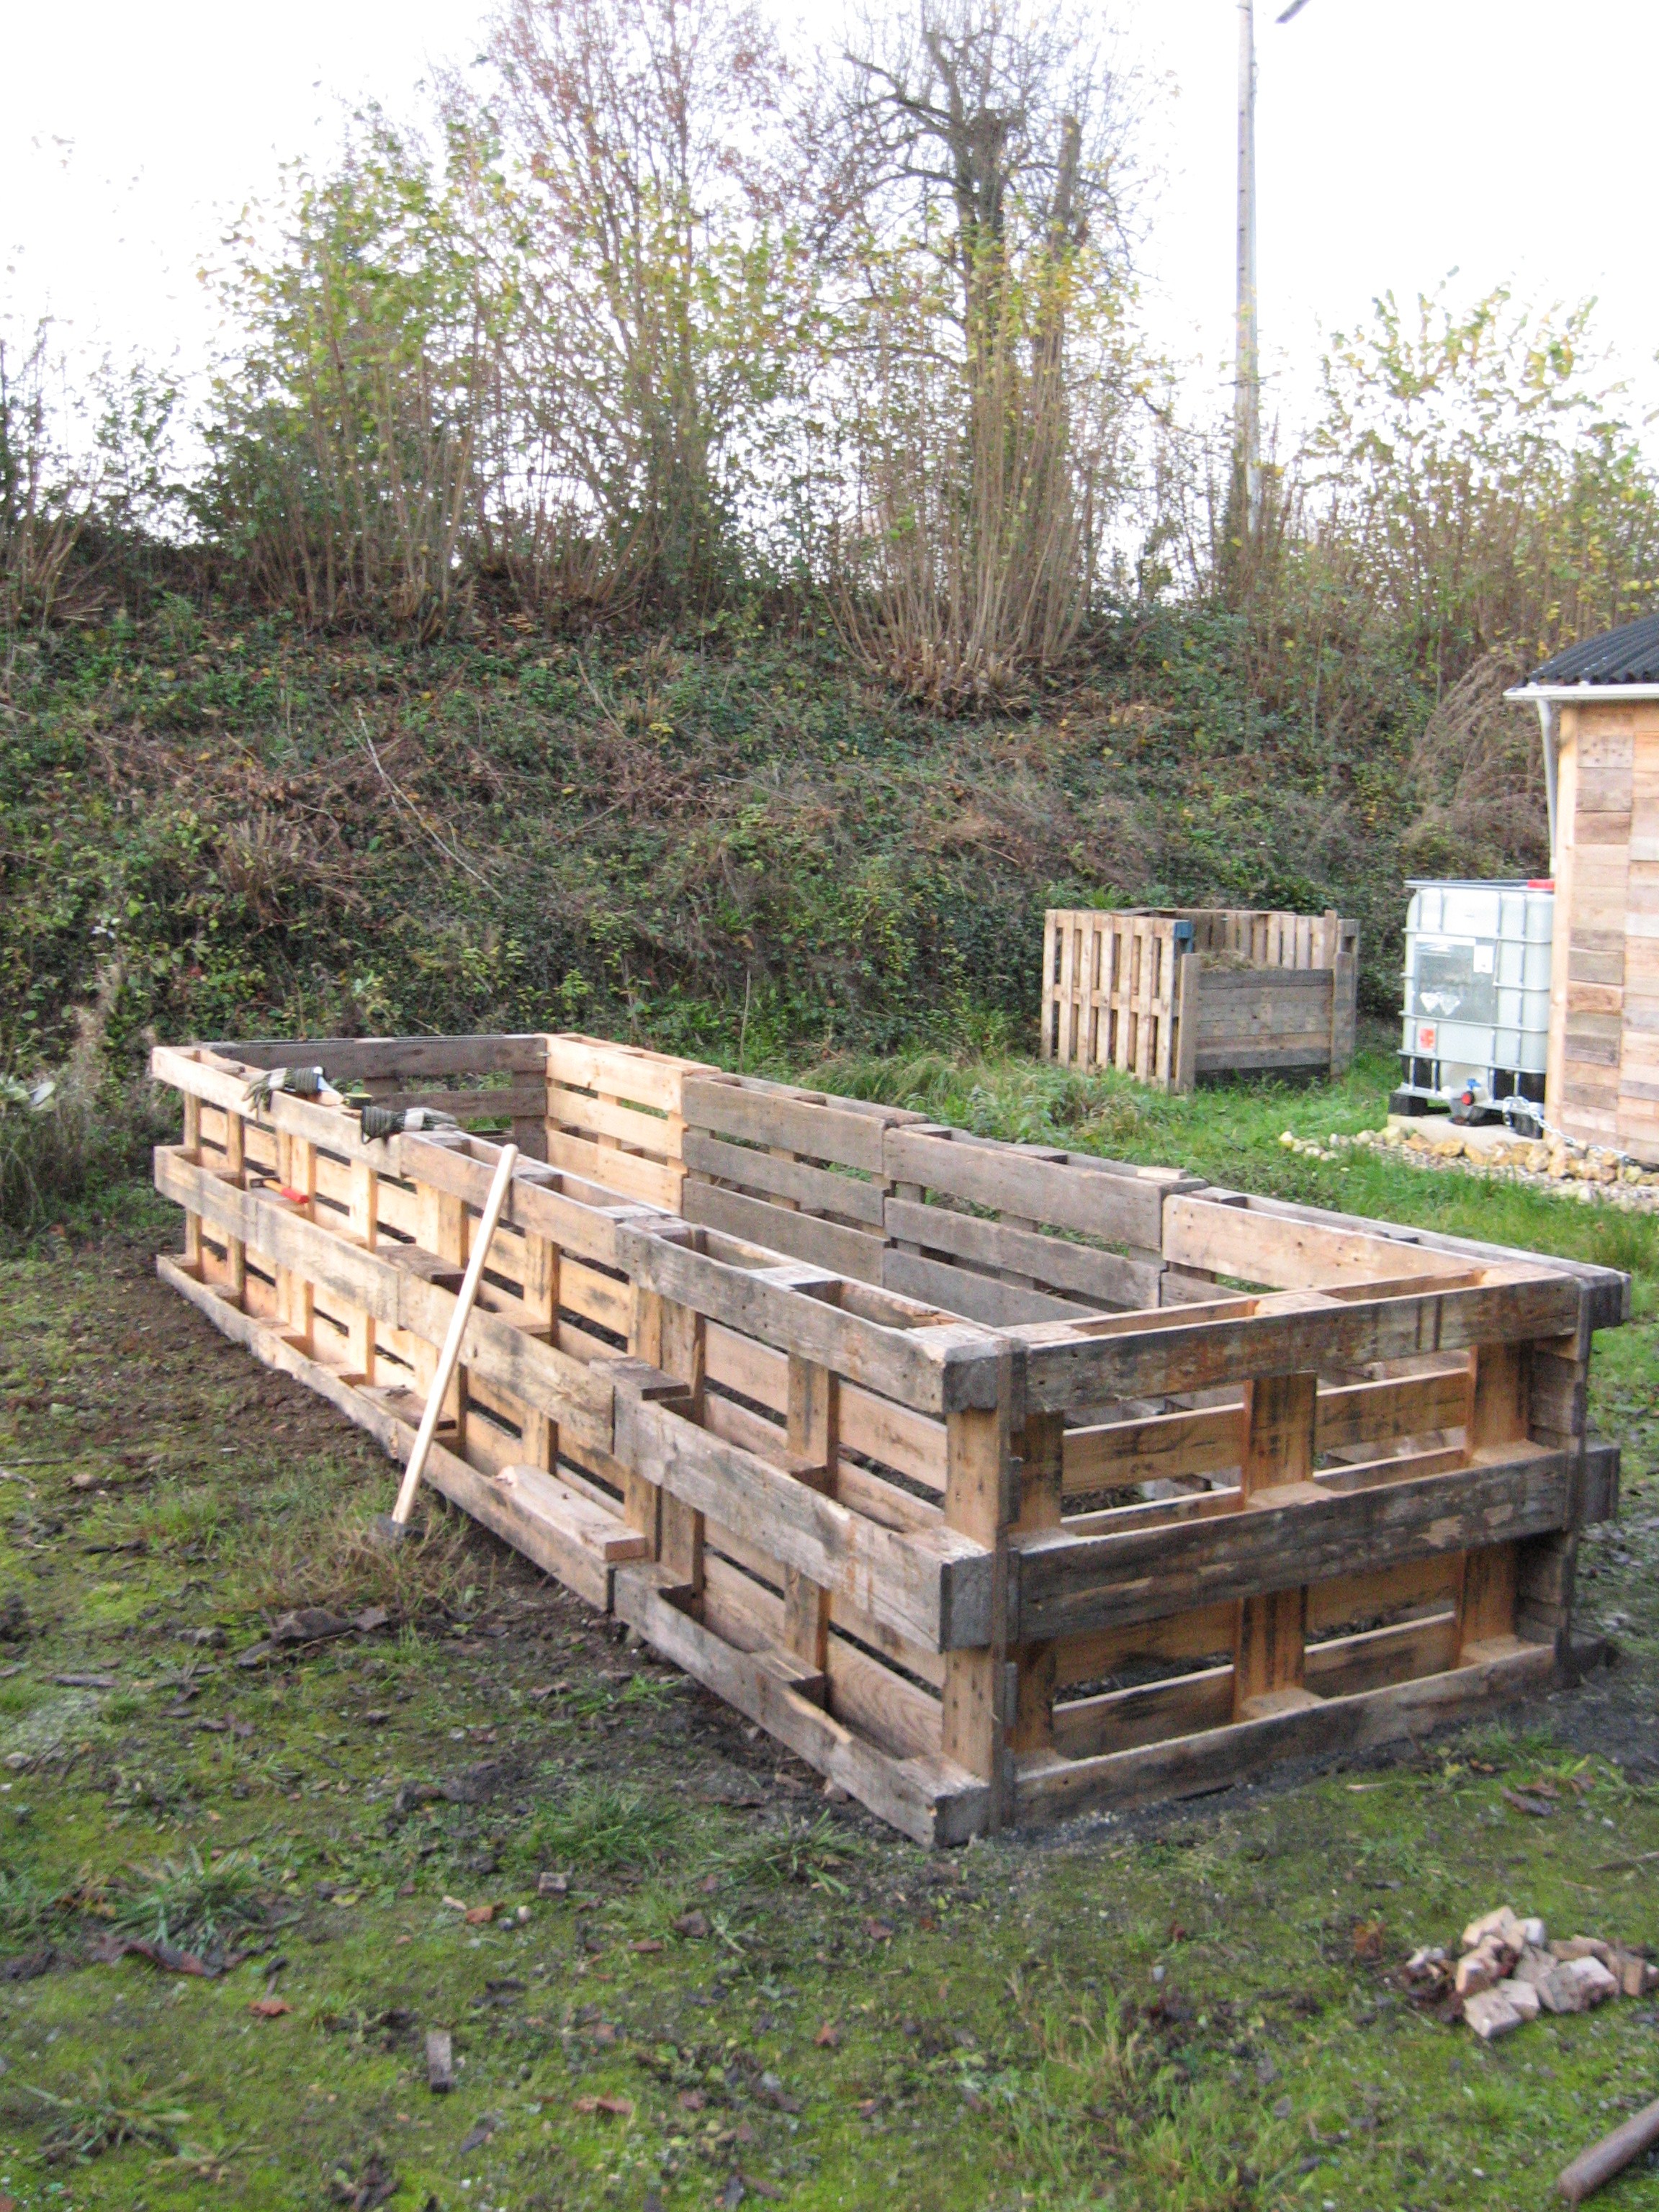
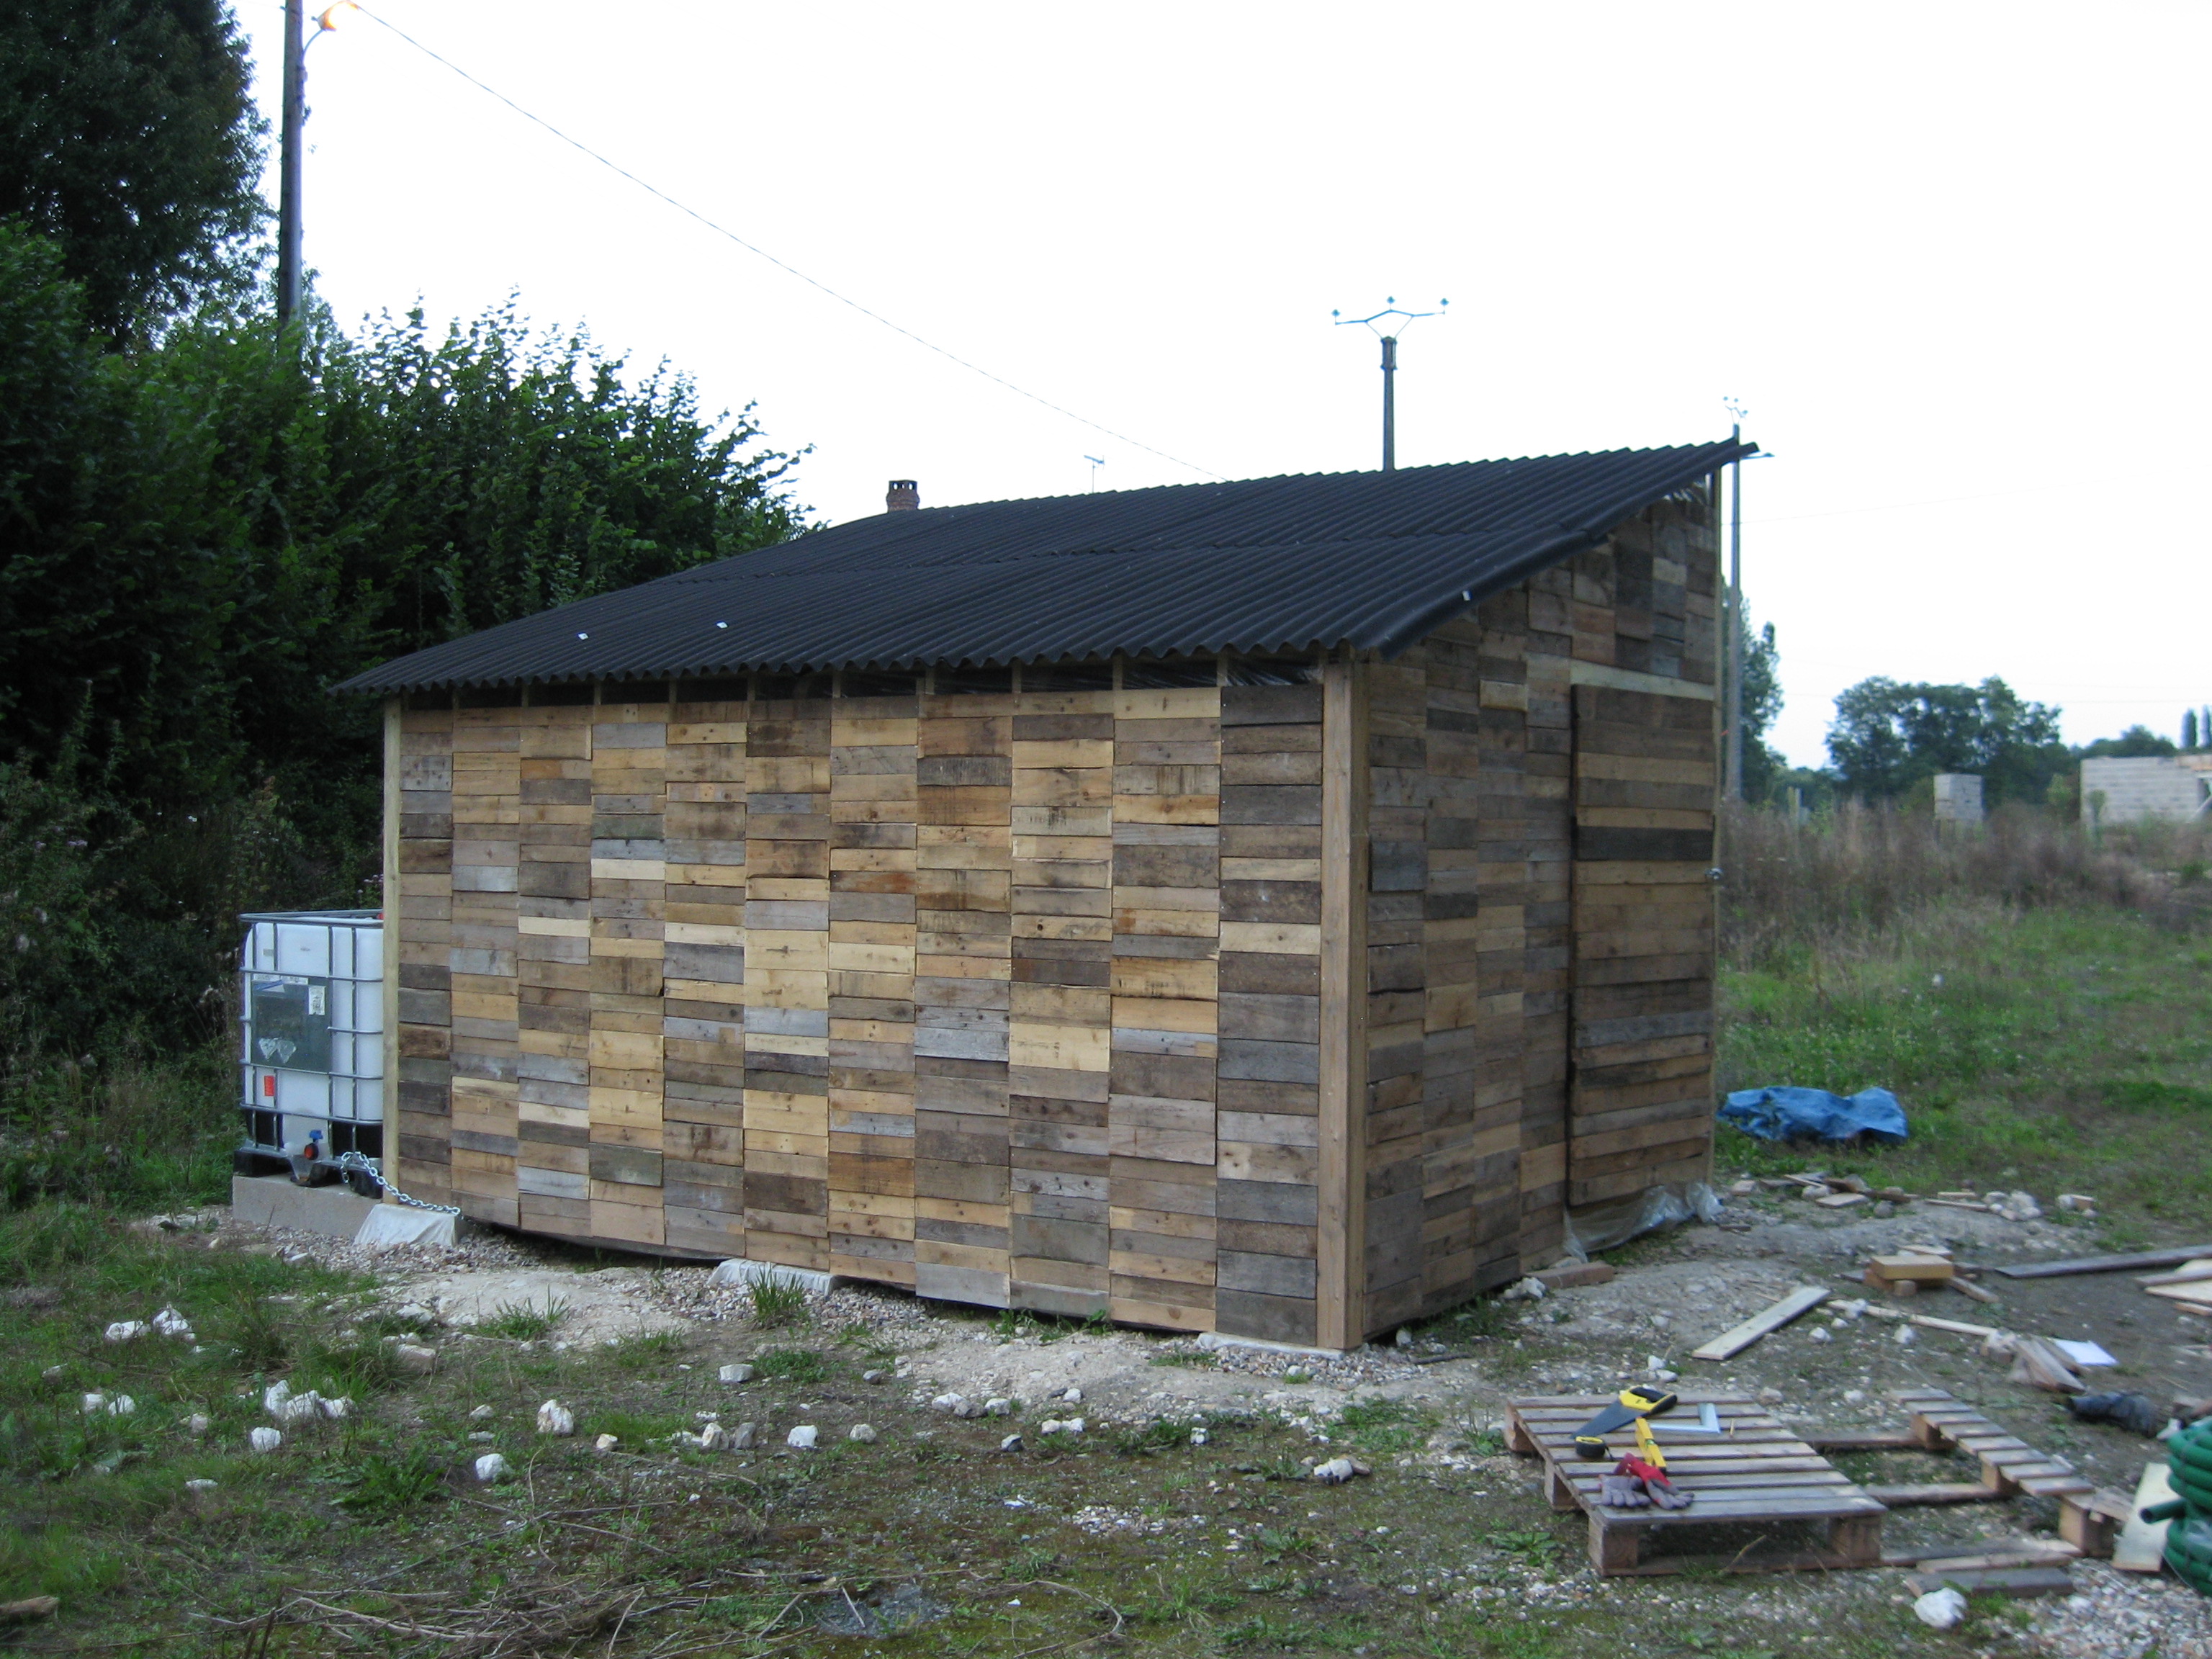
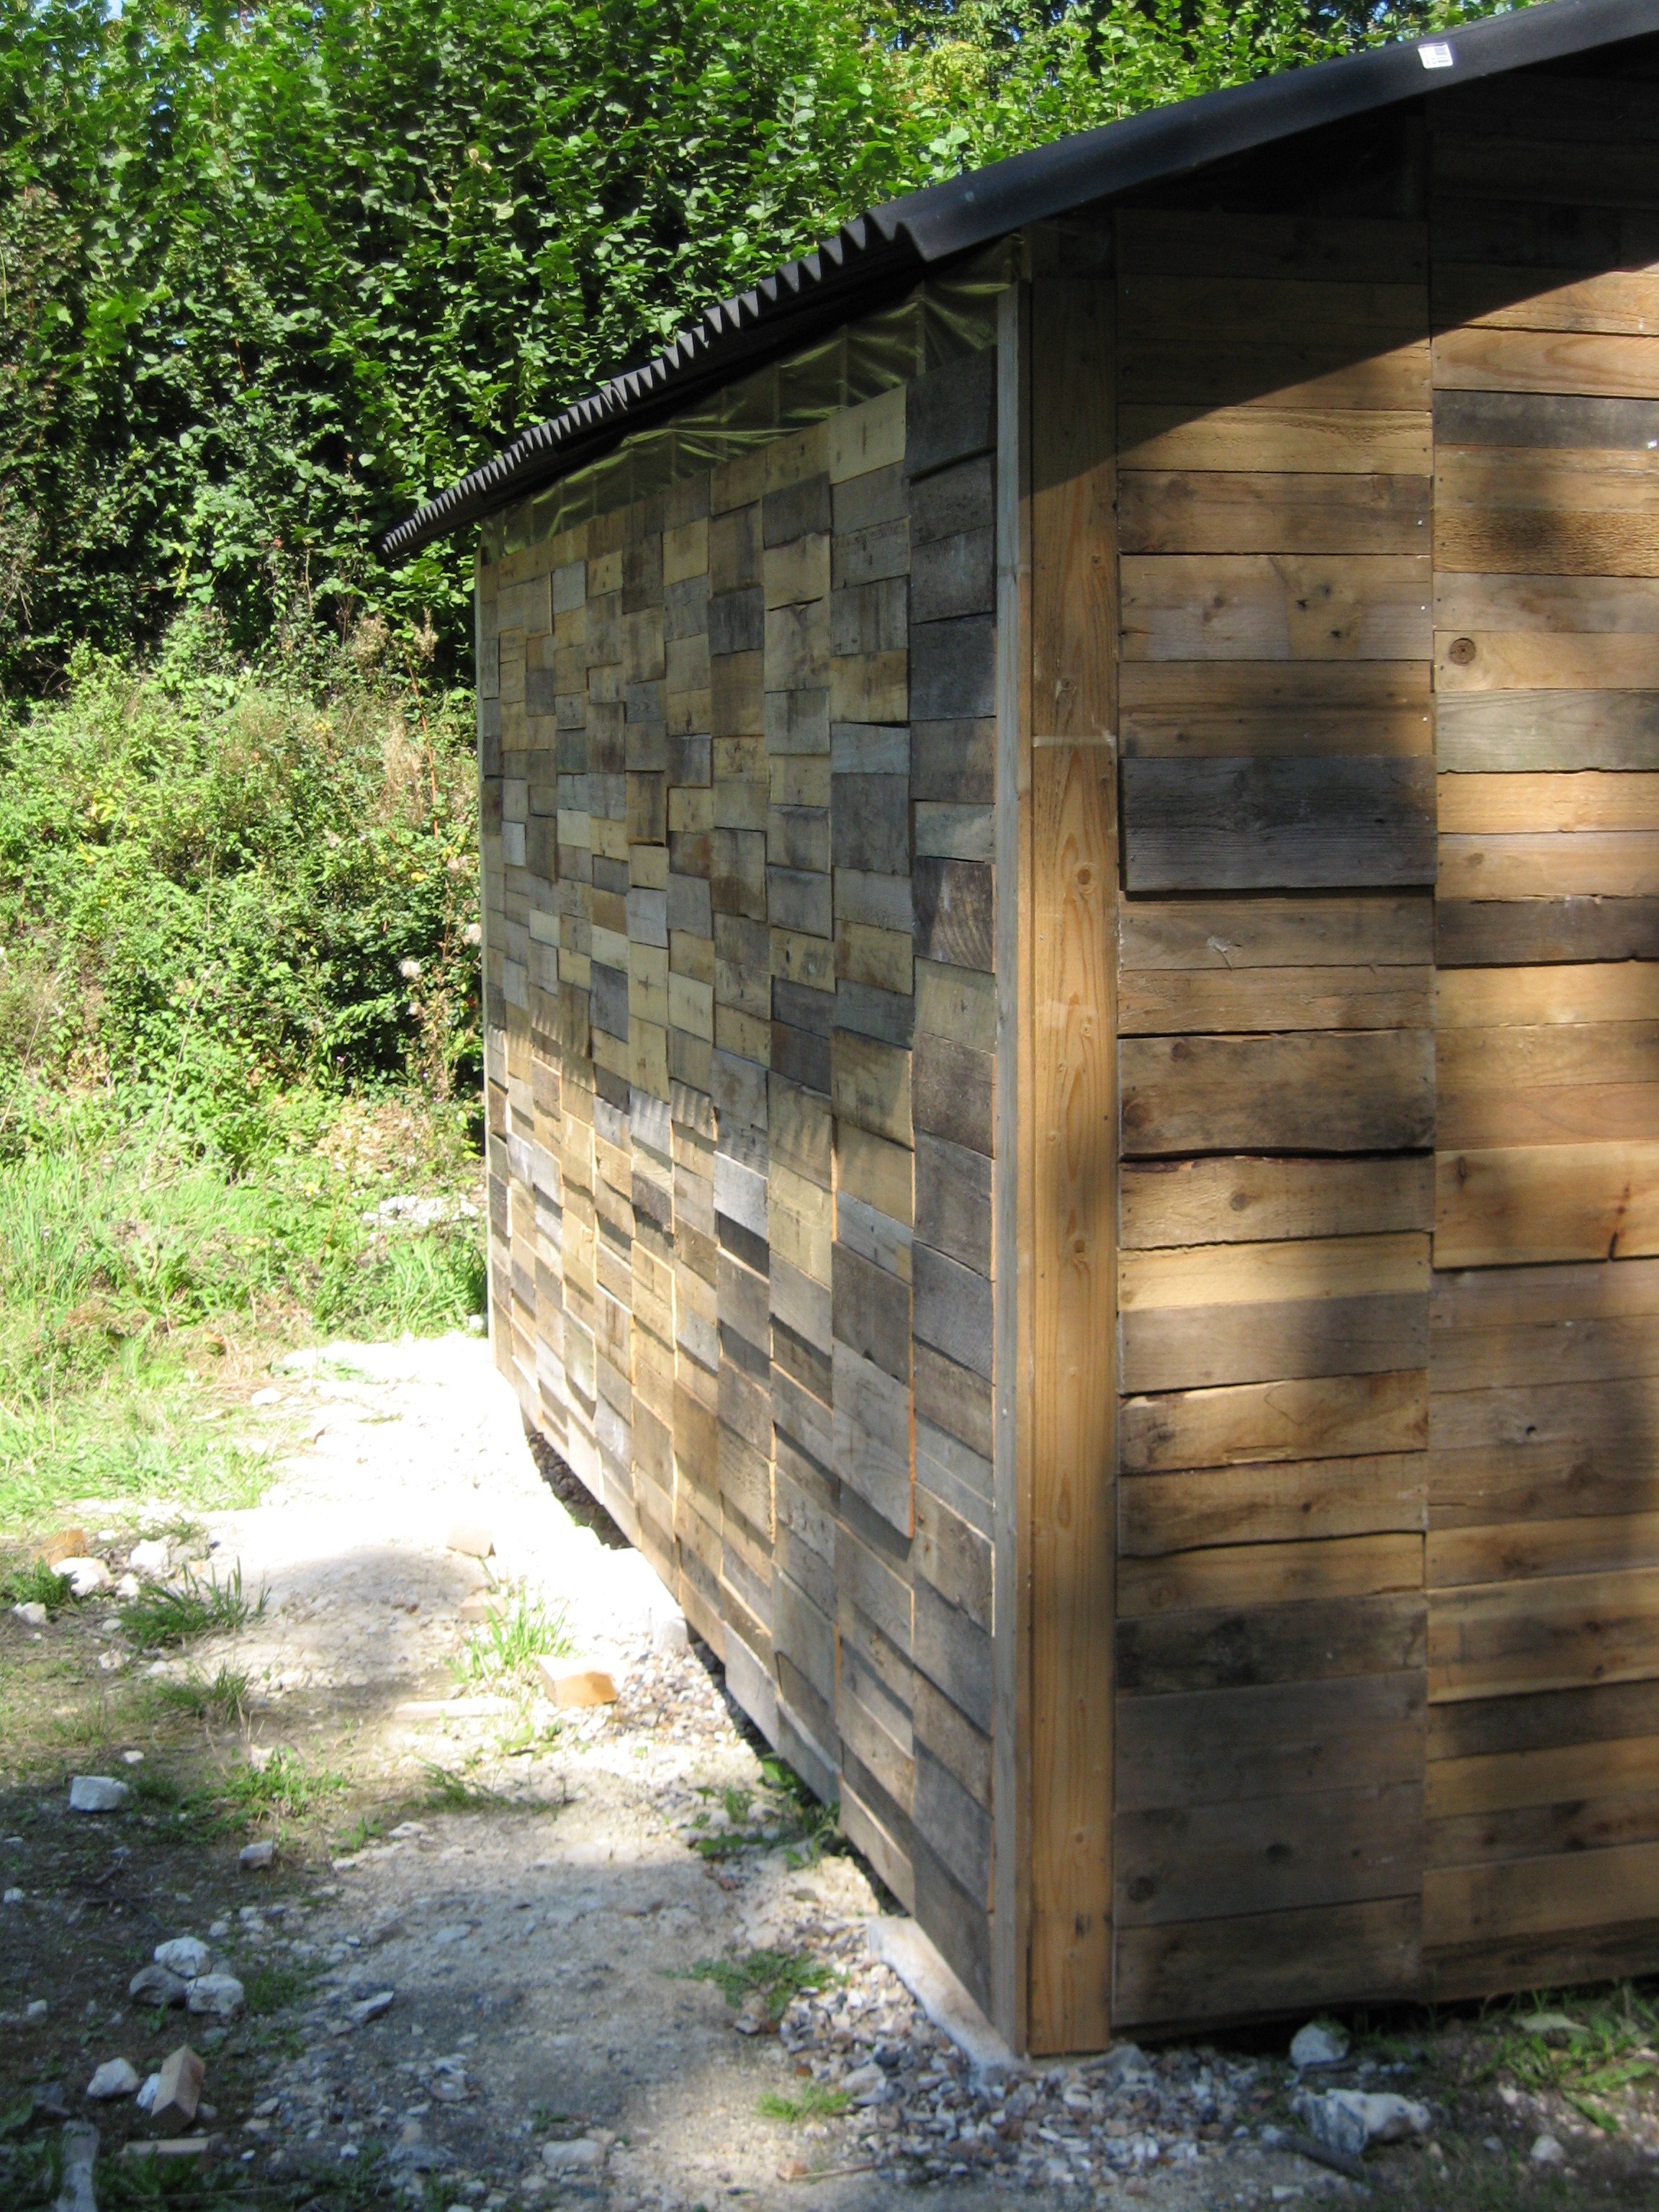
Notre terrain est excellent pour la construction de solides fondations, mais ce n’est pas une terre adaptée aux plantations. Le potager sera donc fait de quatre grands bacs en palettes dont l’intérieur sera tapissé de toile tissé. Ceci aidera à réduire l’évaporation d’eau par les côtés des bacs et protègera d’un côté le bois contre l’humidité de la terre et de l’autre côté la terre contre d’éventuels produits chimiques contenus dans le bois. Les bacs seront d’abord remplis de remblais afin de laisser une soixantaine de centimètres pour de la bonne terre végétale. Une fois les fondations en route, il sera impossible d’accéder au potager par camion. L’idée est donc, de se faire livrer les quelques 14 m3 de terre avant la fin de l’hiver.

Dans le temps, on aimerait finir les bacs avec un joli bardage. On aura aussi la possibilité d’isoler les bacs à ce moment-là.

Posted in Jardin | Leave a comment

Clôturé!


Notre terrain est maintenant entièrement clos; une ligne de poteaux en bois et du fil de fer nous sépare des voisins. Une expression anglaise dit que de bonnes clôtures font de bons voisins. Considérant la qualité de notre clôture, ça ne devrait pas se passer trop mal avec les voisins.

Posted in Jardin | Leave a comment

Future veg patch – Part 2

All frames built for the future vegetable patch. The new soil should be turning up next weekend at which point we can load them up and be ready for some serious veg growth once the house is built.

Posted in Garden | Leave a comment

Future veg patch – Part 1

The basic frame is in place for the first of four raised beds which will form the backbone of our veg The inside is to be lined with ground control fabric (the woven plastic sheeting used to suppress weeds) as this will help reduce water loss through evaporation from the sides and should provide some protection to the wood and also protect the soil from any chemical treatment that has been applied to the wood. Then a base layer of soil / rubble will be added to bring the final soil height up before filling with 60cm of freshly delivered soil (The soil on the plot is great for building foundations on, but rubbish for planting in). Given that access will be more problematic once construction has started and that filling the four beds will require around 14 m³ of soil, the goal is to complete this before Christmas.

Ultimately, we’d like to dress the outside of the pallets with some weatherboard to make them a little prettier. This would also open up the possibility of filling the void with insulation.

Posted in Garden | 2 Comments

Fenced!

Our plot is now completely enclosed. A line of wooden posts and four pieces of wire separate us from the neighbours. Good fences make good neighbours apparently. Based on this and the quality of this fence, we should make at least passable neighbours.

Posted in Garden, General | Leave a comment

Mini grafsteentjes

Het plan was vrij simpel. Het eerste weekend zouden we de funderingen doen om vervolgens hout te laten leveren voor de vloer en muren en het weekend daarna de schuur te bouwen. En het begon allemaal prima…

Het eerste weekend

Foundations for the shedVoor de fuderingen hebben we negen gaten gegraven tot aan de vorstlijn, daar vervolgens geotextiel in gelegd en de gaten gevuld met kiezels. Hier bovenop hebben we een betonblok gelegd waarop later de vloer van de schuur komt te rusten. Het betonblok wordt door meer kiezels in plaats gehouden. Het klinkt eenvoudig, maar graven in krijtsteen is echt ontzettend zwaar. We hebben er met z’n tweeën twee dagen over gedaan (of bijna, want er was best veel heen en weer gereis om de kiezels op het terrein te krijgen) om de gaten te graven, ze weer te vullen en om de betonblokken waterpas te krijgen. We hadden wat last van spierpijn de volgende dag.

Posted in Uncategorized @nl | Leave a comment

L’abri? C’est fini!

Enfin, presque… Il nous faut toujours les gouttières et un seuil de porte, mais l’abri est hors d’air, hors d’eau, et fermé à clé. Il n’y a pas grande chose à dire ici. C’était encore une journée longue passée en sciant et en clouant, et heureusement sans drame.

Voilà l’abri de jardin:

Posted in Abri | 1 Comment

Shed? Done!

Well mostly. We still need to add the guttering and a bit of door trim, but the shed is completely clad, watertight and lockable. There’s not a lot to say here. Just another long day of hammering and sawing, and thankfully lacking in drama.

Here’s how it looks now:

Posted in Shed | 1 Comment

Ca tape fort

Le troisième weekend

Une fois la structure montée et hors d’eau (ou presque), il fallait mettre le bardage. L’OSB interne protégera les montants de l’intérieur et donne une surface lisse. Il sert aussi de rigidifier la structure. En le mettant à l’intérieur il est protégé des intempéries ce qui rend l’abri plus résilient. Le bardage protège le film plastique et les montants des intempéries. Ce bardage est fait à partir des palettes recyclées.

On a déjà passé quelques weekends à démonter des palettes et en recoupant les pièces (pour qu’elles fassent la même taille que l’espace entre les montants). Ceci nous a laissé un tas de planches de 40cm qu’il fallait ramener au site. Le tas, qu’on voit à la gauche des palettes dans la photo à droite, était le résultat. Il était même plus haut quand on l’a ramené au site (Bien que il ne soit pas assez haut vu qu’on a besoin d’en couper plus).

Sinon, il n’y a pas grande chose a dire ici. On a passé une journée et demie en attachant les planches à l’abri. Il faut qu’on coupe plus de planches et qu’on installe les gouttières.

Posted in Abri | Leave a comment

Hammerin’

Weekend three

The shed, with the cladding almost finished.With the structure built and water tight (more or less) we needed to clad it. The internal cladding of OSB will protect the studs from inside and provide a smooth working surface. It also serves to rigidify the structure. By putting it on the inside it’s protected from the weather making the shed more resilient. The external cladding protects the plastic wrap and studs from the weather. The external cladding is made from recycled pallets.

Sawing recycled pallet planks to length.We had previously spent a few weekends, taking apart pallets and then cutting the pieces to length (so that they matched the stud spacing). This gave us a pile of 40cm planks which had to be taken to site. The stack visible to the left of the pile of pallets in the photo to the right, was the resulting pile of planks. It was higher still by the time we took it to site. (Although not quite high enough as we still need to cut some more).

There’s not a lot to report here. We basically spent a day and a half nailing various boards to the shed. We still need to cut the boards for the corners and attach the gutters.

Posted in Shed | Leave a comment